78 lines
4.6 KiB
Markdown
78 lines
4.6 KiB
Markdown
|
|
+++
|
|||
|
|
date = "2021-03-19"
|
|||
|
|
tags = ["game"]
|
|||
|
|
title = "マリオが難しかったので解説してみる"
|
|||
|
|
slug = "mario"
|
|||
|
|
+++
|
|||
|
|
|
|||
|
|
マリオ3Dワールドを2,3日プレイしてたんですけど、最近のマリオ、ちょっと難しすぎません?
|
|||
|
|
|
|||
|
|
と、そんなどうでもいい話は置いといて、検索しても有効な攻略法が見当たらなかったので、難しかったコースを自分なりに解説してみます。
|
|||
|
|
|
|||
|
|
簡単そうに見えるかもしれませんが、意外と難しいかもしれない。
|
|||
|
|
|
|||
|
|
<iframe width="100%" height="400" src="https://www.youtube.com/embed/KvBnDXZabVk" frameborder="0" allow="autoplay; encrypted-media" allowfullscreen></iframe>
|
|||
|
|
|
|||
|
|
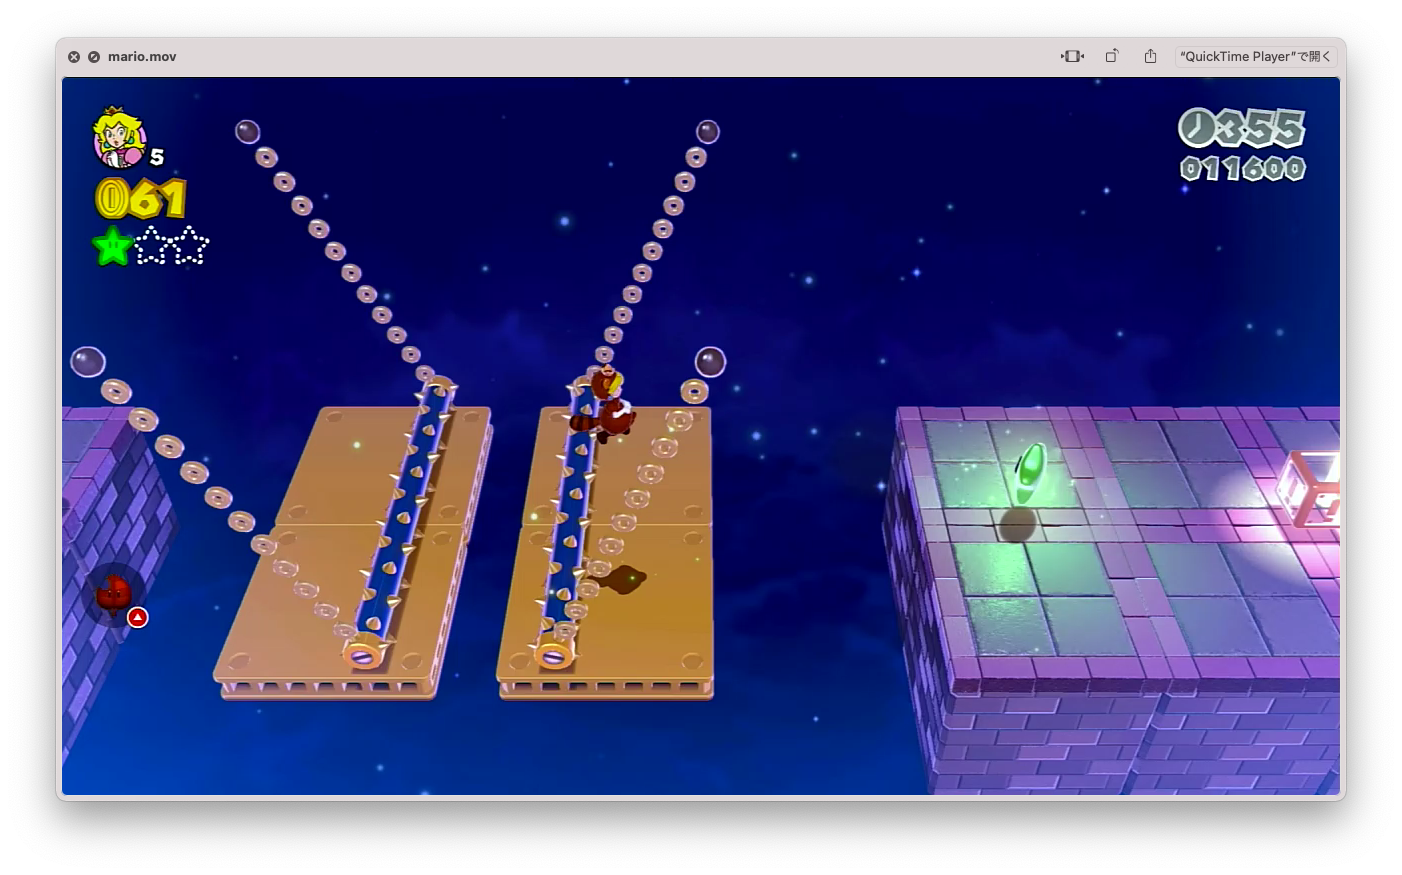
## ステージ1
|
|||
|
|
|
|||
|
|
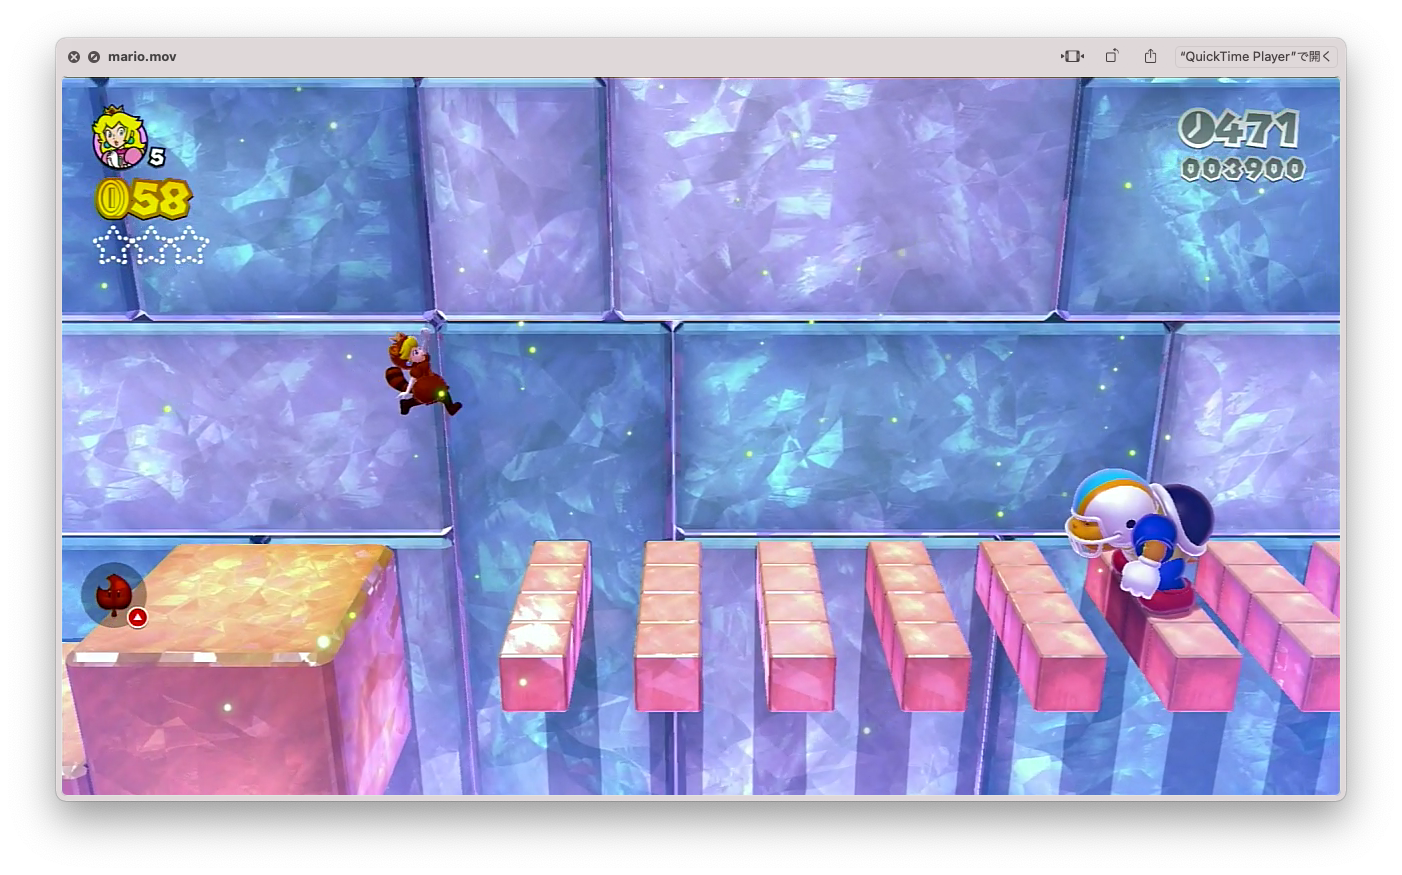
最初は少し右にずれると砲弾をかわせる。詳しくは動画にて。
|
|||
|
|
|
|||
|
|
この細切れの橋は、タヌキで滑走すると乗れる確率が高い。ただし、自信がある場合は任意のタイミングで離してもOK。
|
|||
|
|
|
|||
|
|
|
|||
|
|
## ステージ2
|
|||
|
|
|
|||
|
|
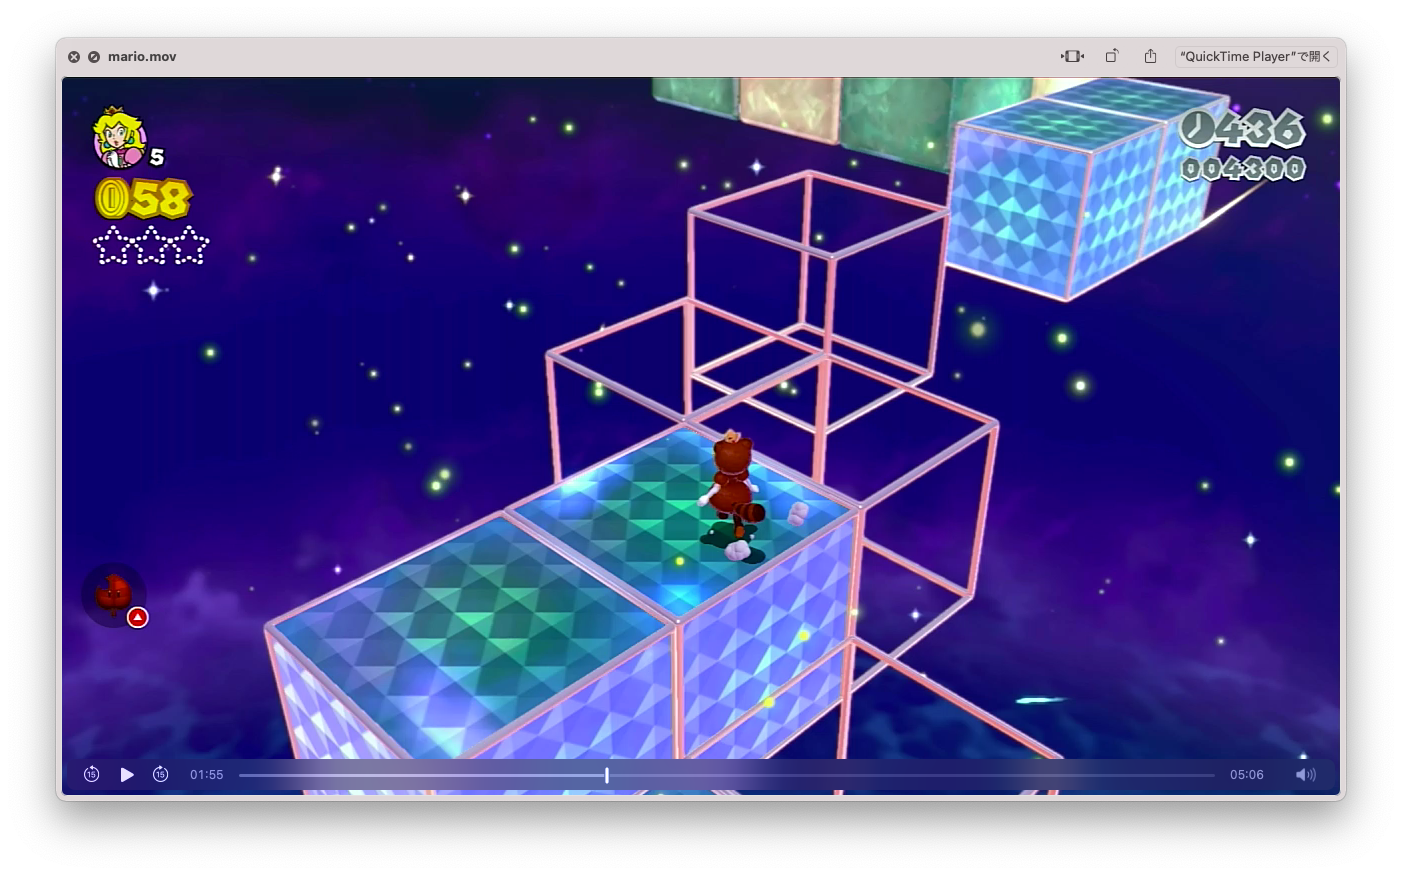
消える台は、どこに乗るか決めておく。階段の連なりは、一つ目をジャンプ後にタヌキで空中に留まる。ピーチを使うと長く留まれる。
|
|||
|
|
|
|||
|
|
|
|||
|
|
|
|||
|
|
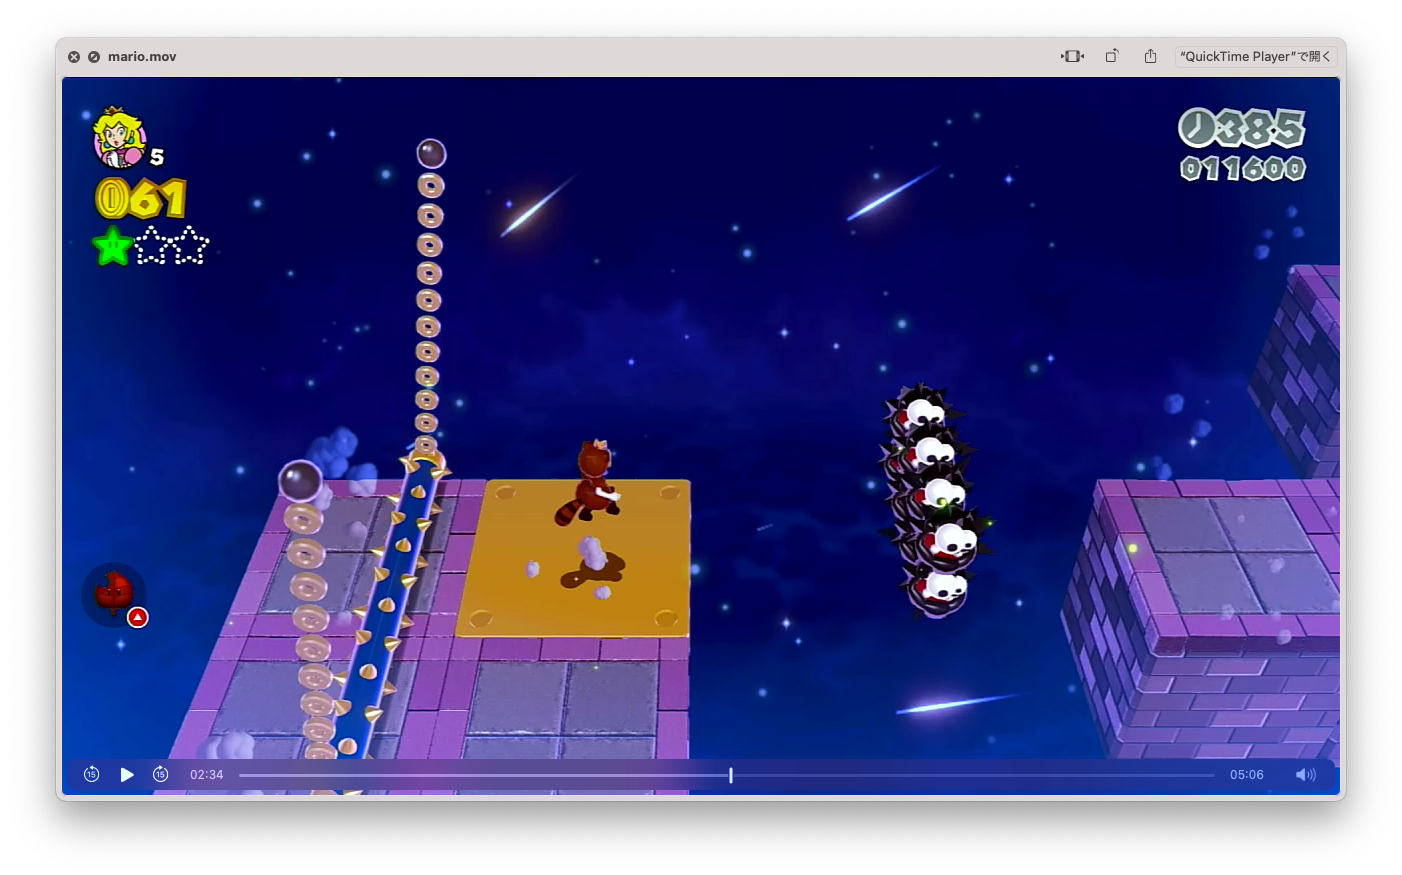
## ステージ3
|
|||
|
|
|
|||
|
|
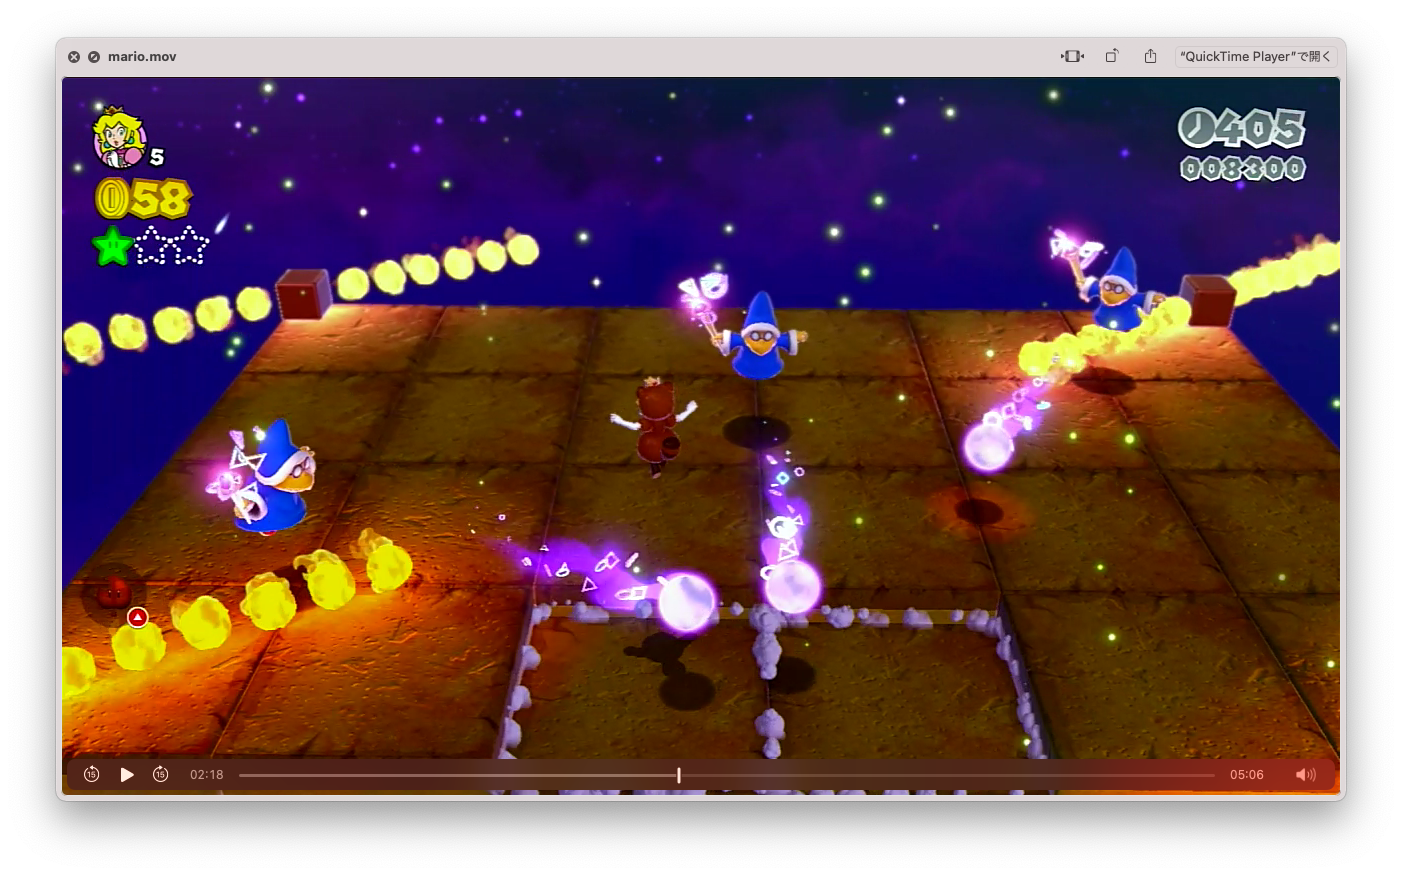
魔法使いは、三角形を描くように、真ん中を中心にジャンプしながら倒す。
|
|||
|
|
|
|||
|
|
|
|||
|
|
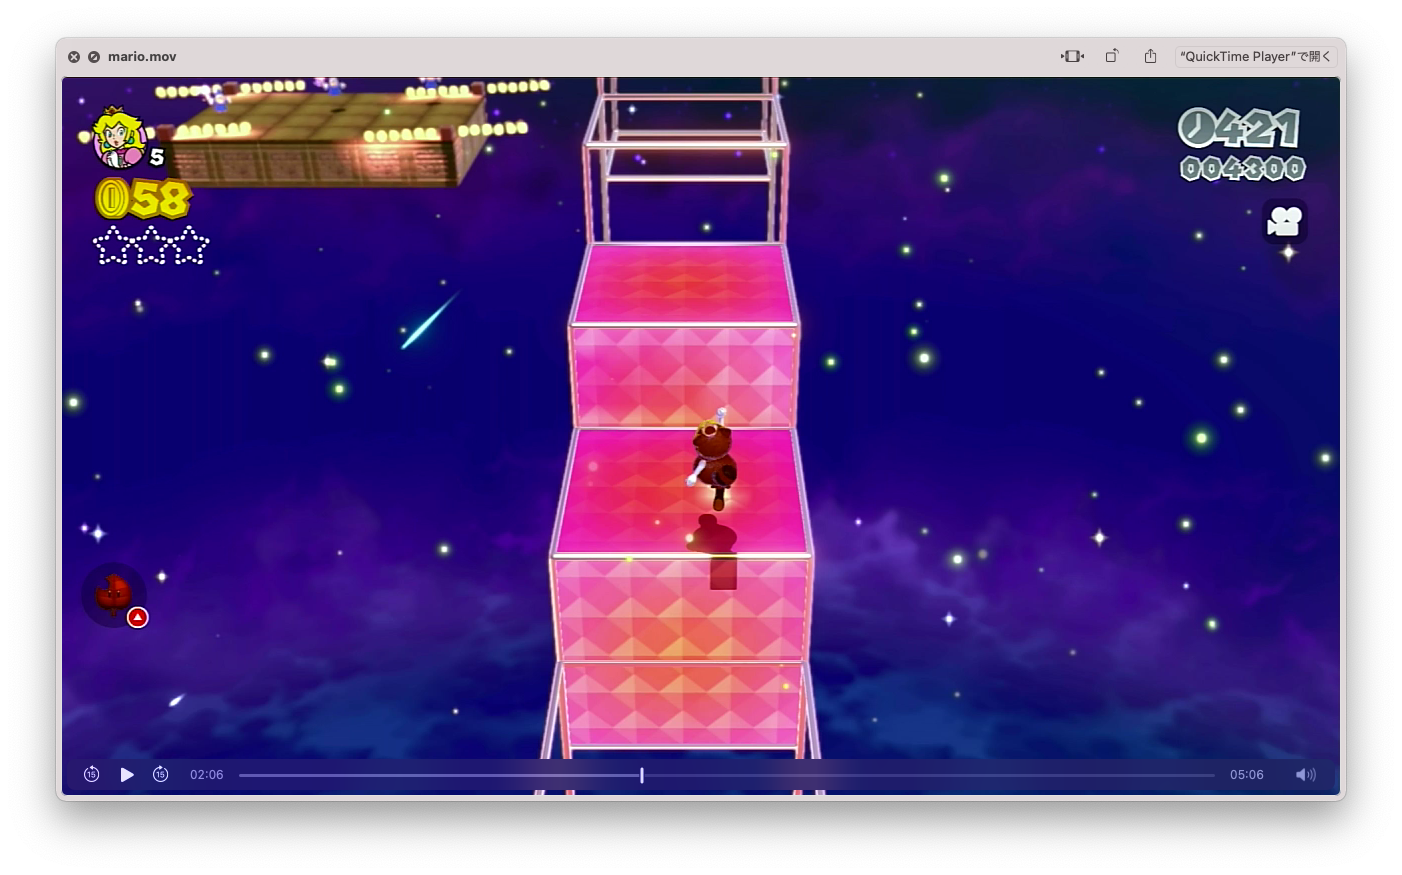
黄色い台は、乗った直後にジャンプ、着地後にしゃがむ。
|
|||
|
|
|
|||
|
|
|
|||
|
|
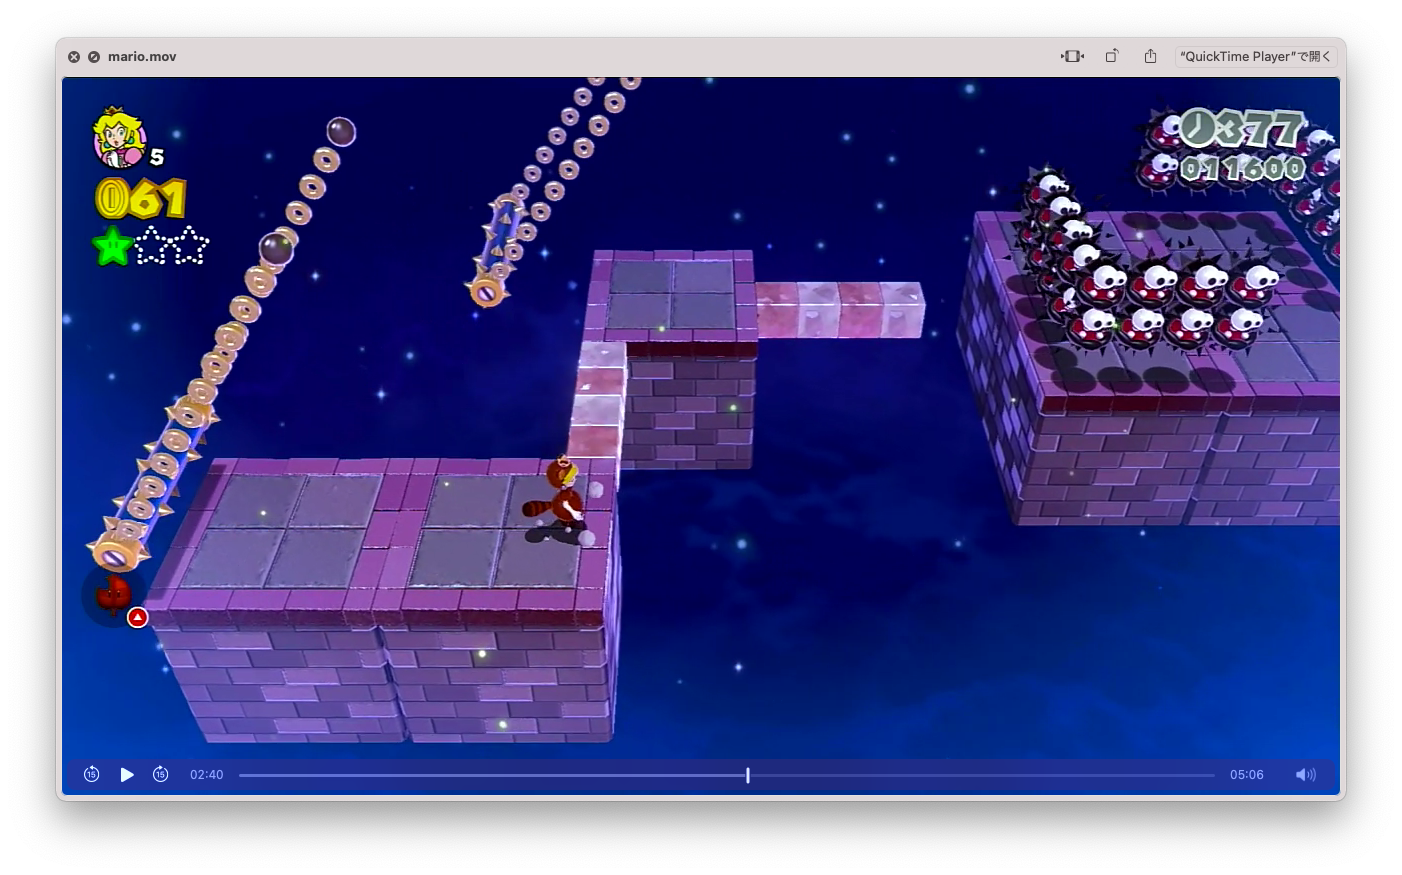
縦線を意識、その直線上に待機して、タイミングが合えばジャンプ。
|
|||
|
|
|
|||
|
|
|
|||
|
|
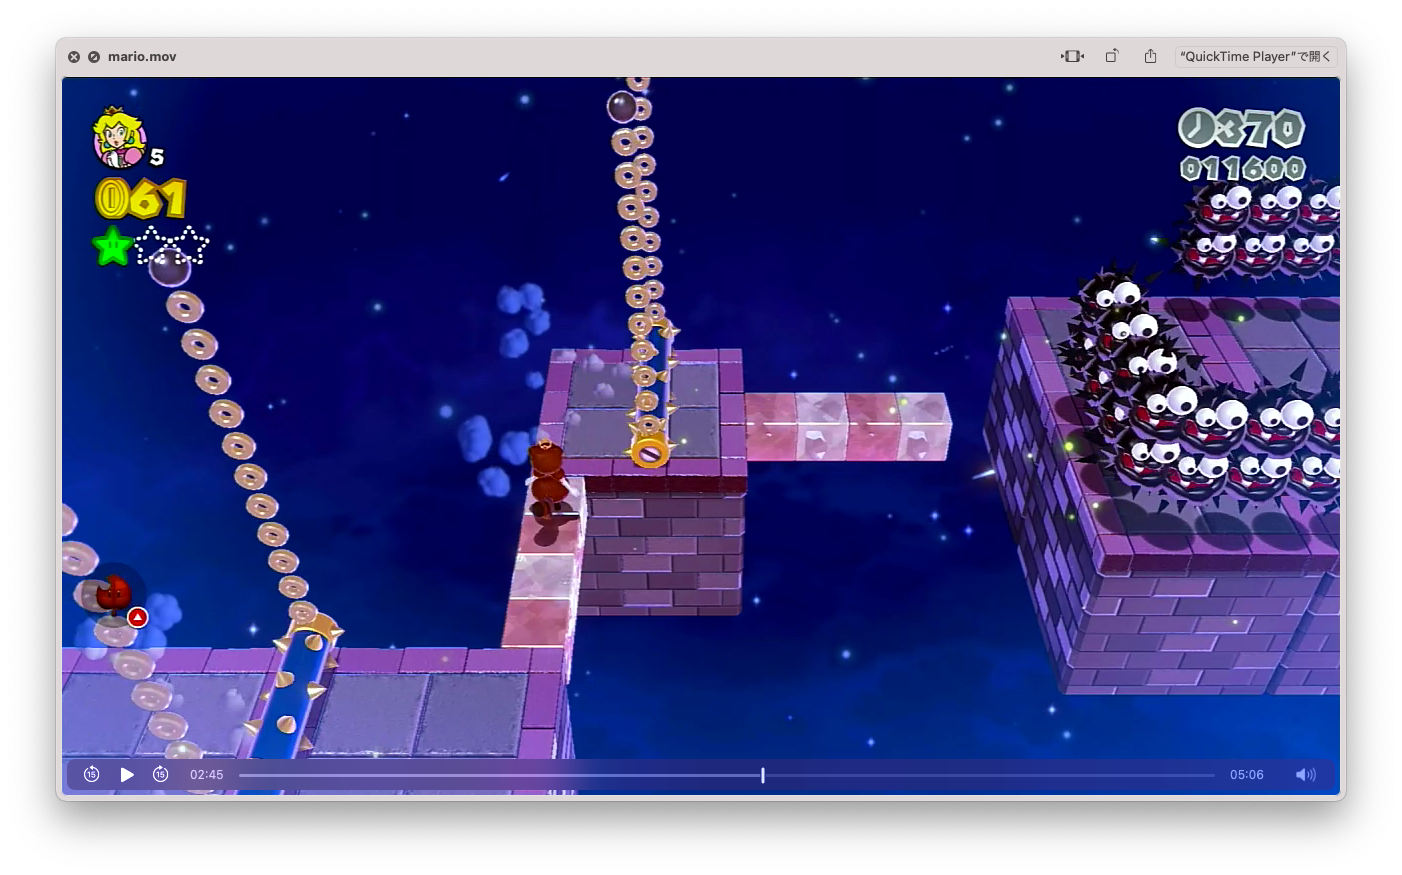
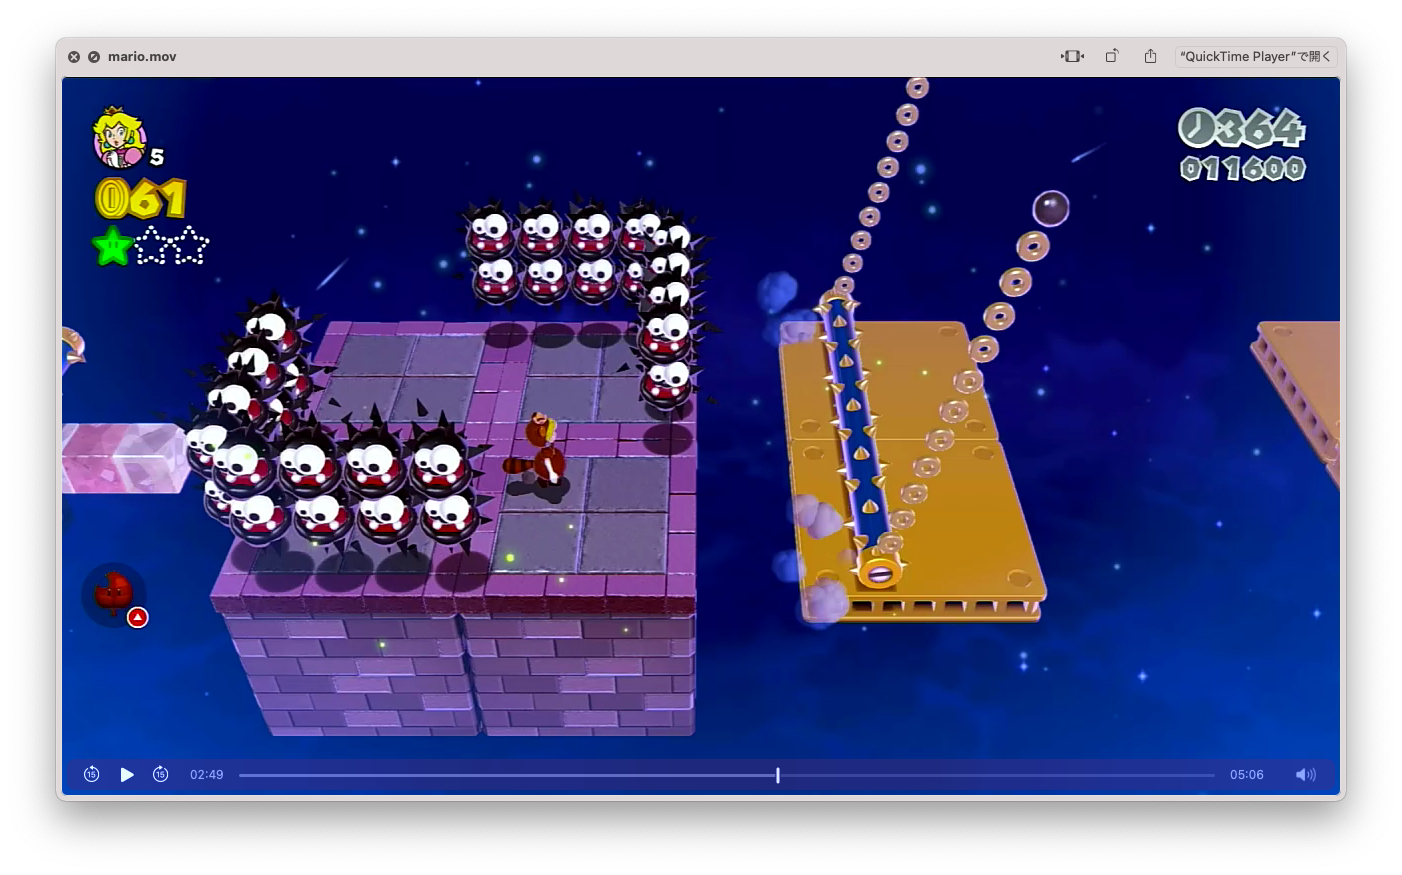
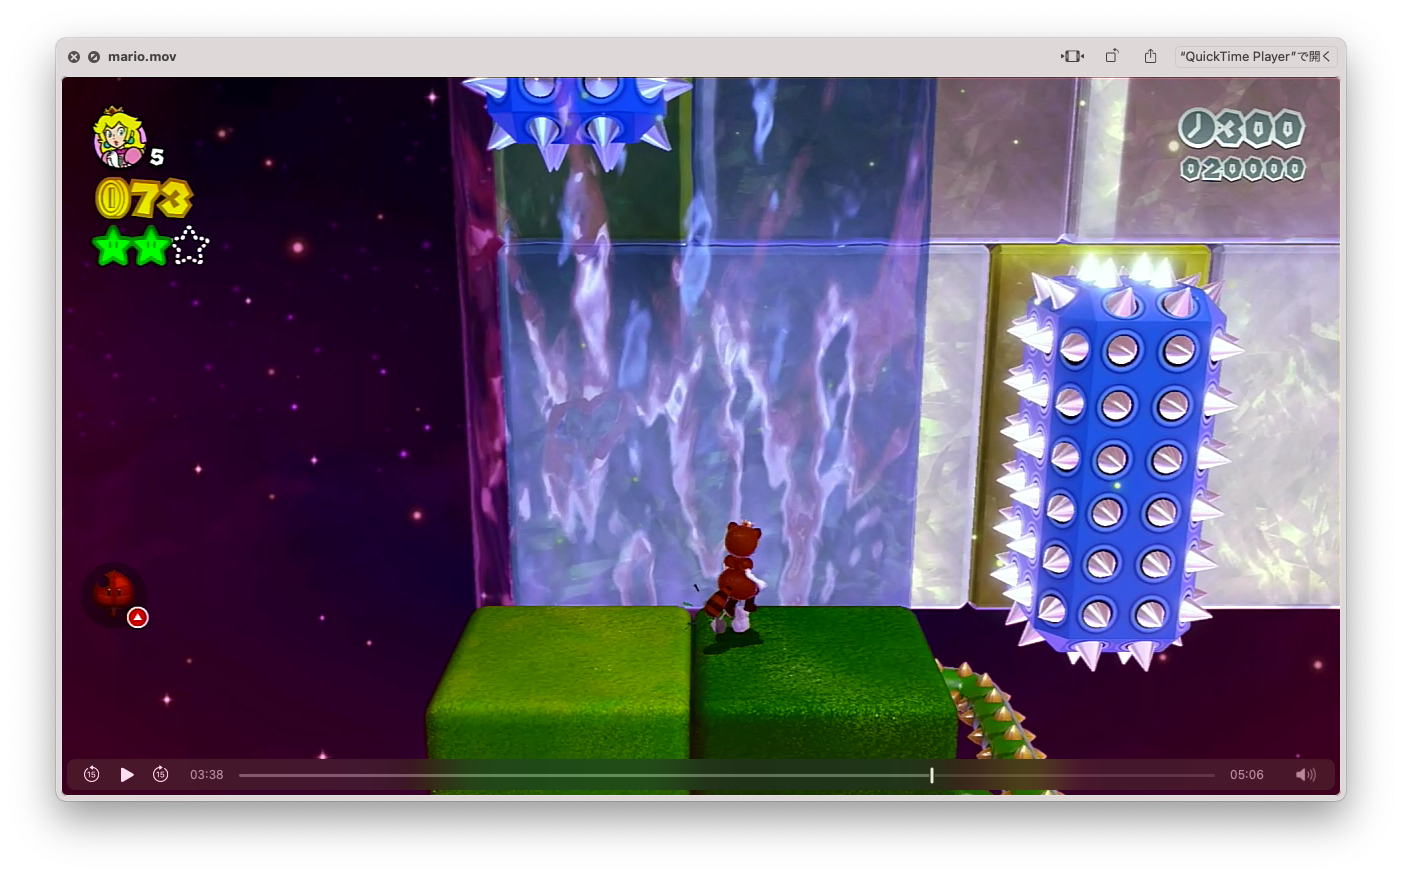
トゲトゲが通り過ぎた直後にダッシュしてジャンプ。黒虫も飛び越えられる。
|
|||
|
|
|
|||
|
|
|
|||
|
|
黄色い台が来るまで待機。待機場所も予め決めておく。
|
|||
|
|
|
|||
|
|
|
|||
|
|
黄色い台は一つ乗れば、あとはタヌキで飛び越えられる。
|
|||
|
|
|
|||
|
|
|
|||
|
|
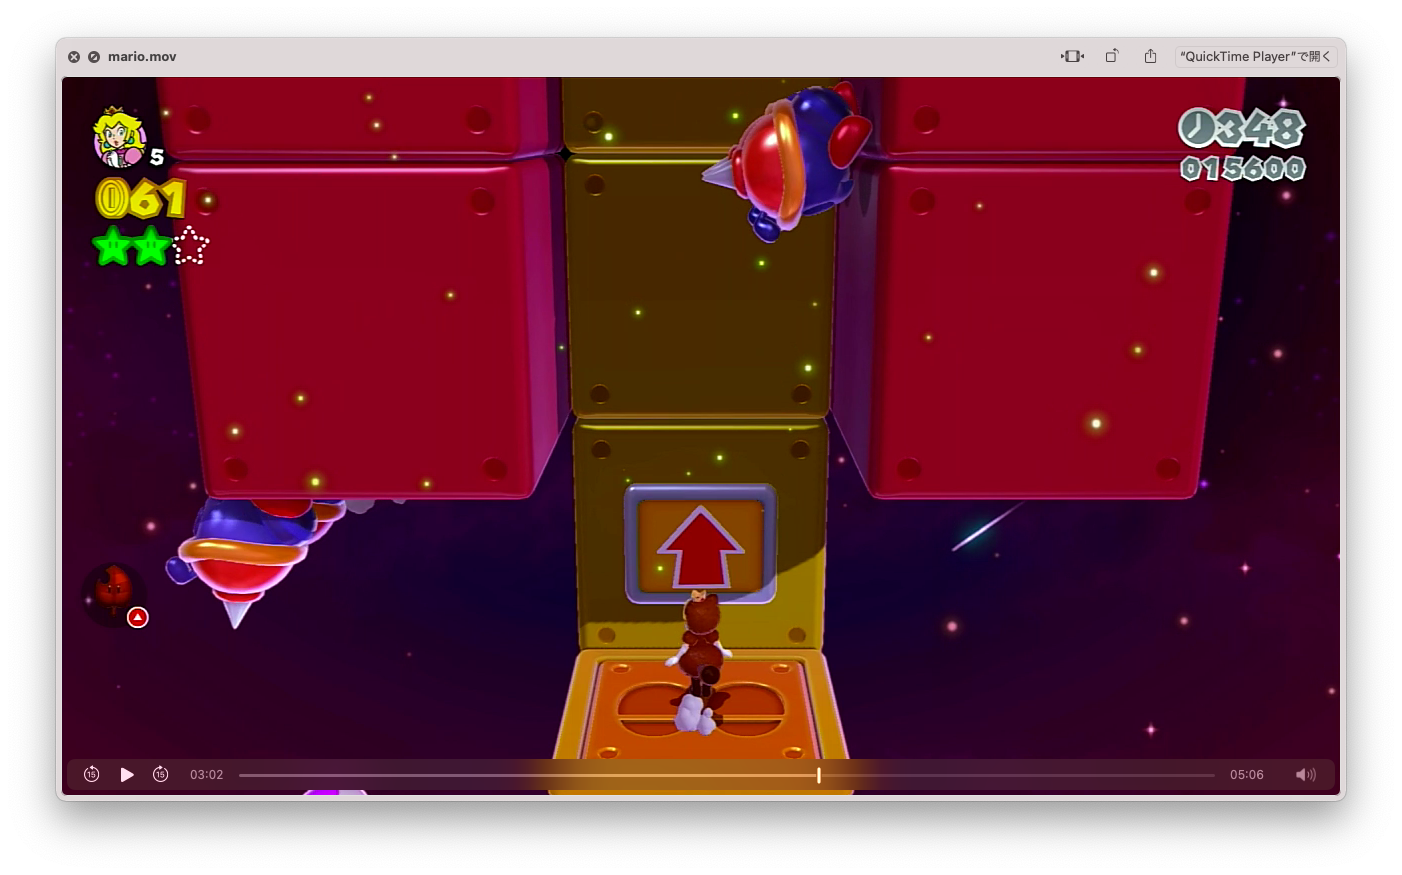
## ステージ4
|
|||
|
|
|
|||
|
|
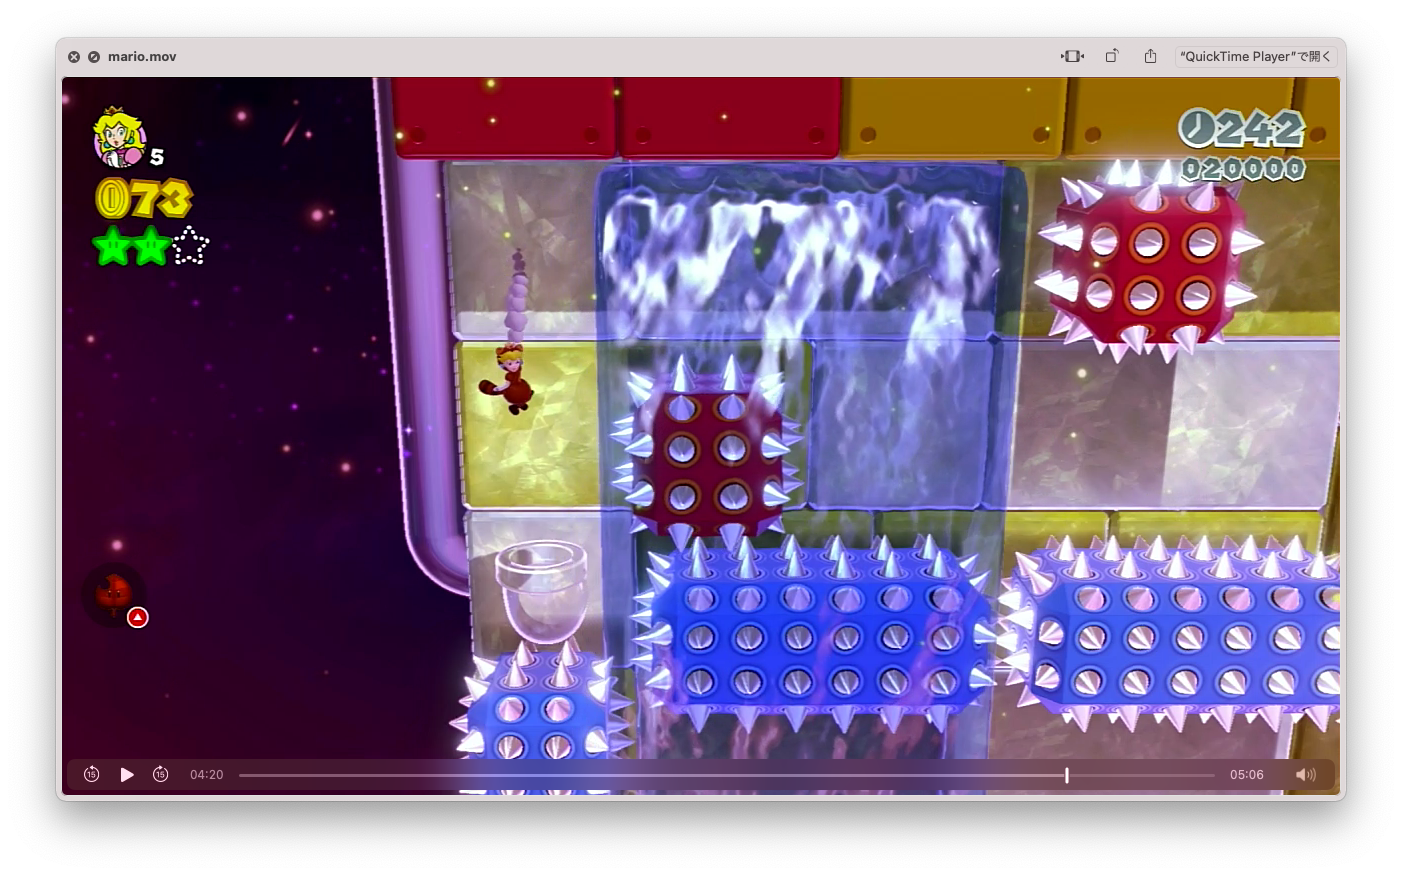
壁虫はジャンプして目視しないと通りてこない。
|
|||
|
|
|
|||
|
|
|
|||
|
|
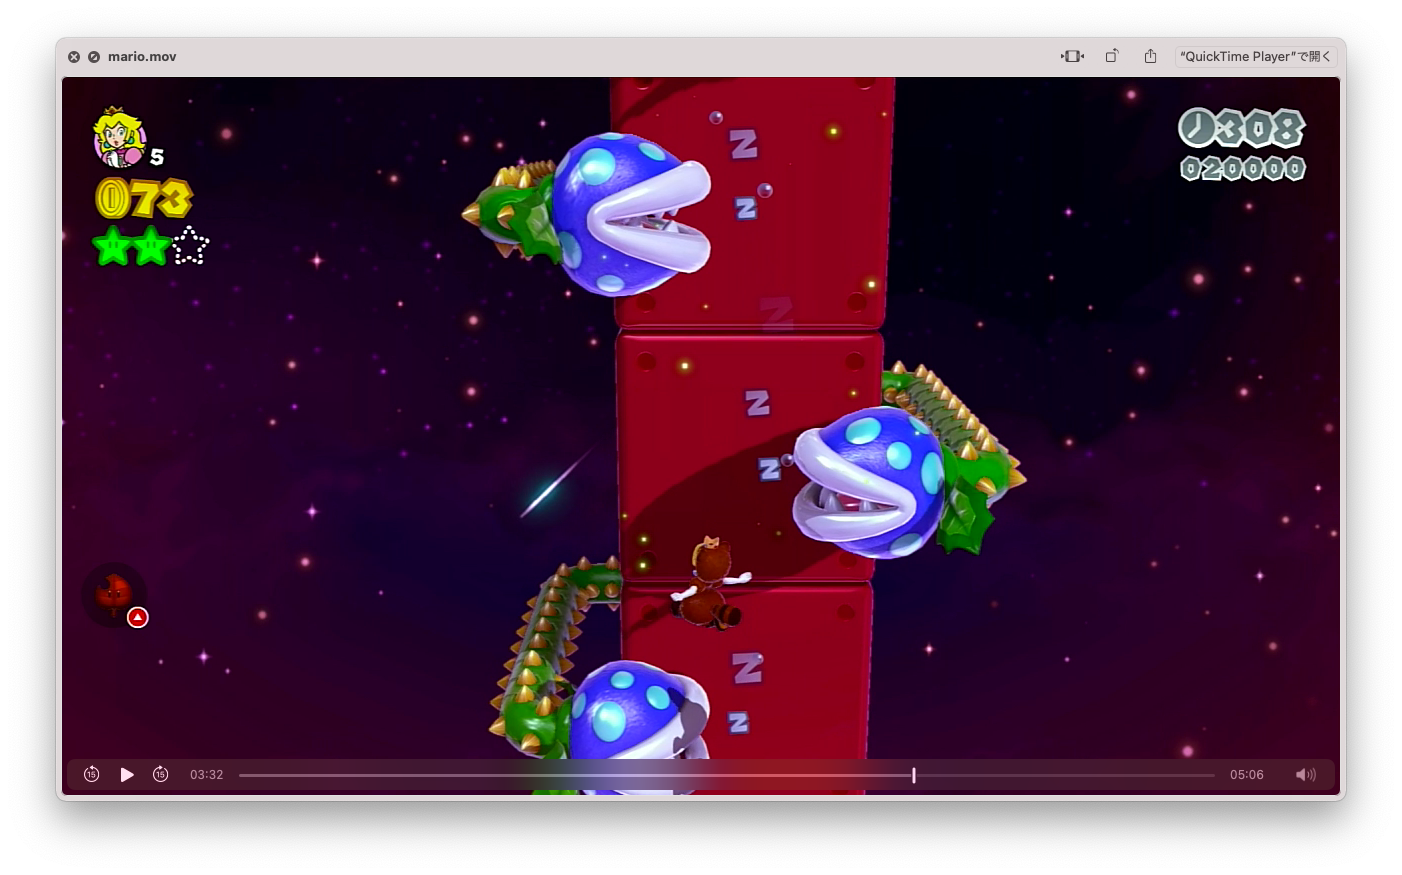
パックンは、ジャンプ後に踏みつけたあと、Bボタンを離して、Aを押しっぱなしにする。
|
|||
|
|
|
|||
|
|
|
|||
|
|
水のところは、2秒待ってから入る。すると、透明ドカンに入りやすい。
|
|||
|
|
|
|||
|
|
|
|||
|
|
|
|||
|
|
|
|||
|
|
## ステージ5
|
|||
|
|
|
|||
|
|
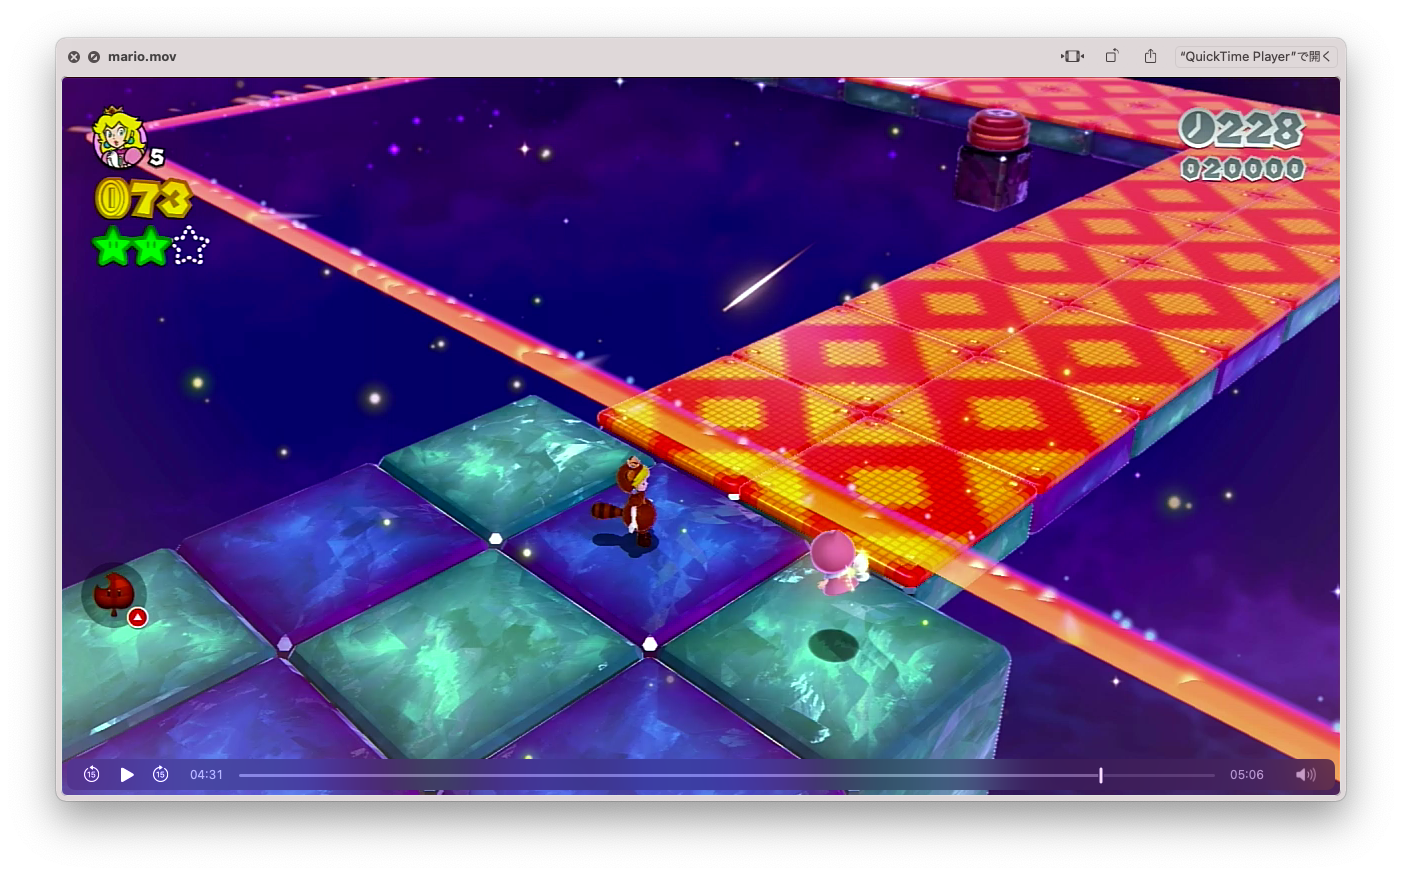
熱線が手前で消えたあと、2秒を数えてから入る。すると、熱線を避けてジャンプしやすい。大体どの部分を走り、どの部分に着地するのか決めておくといい。
|
|||
|
|
|
|||
|
|
|
|||
|
|
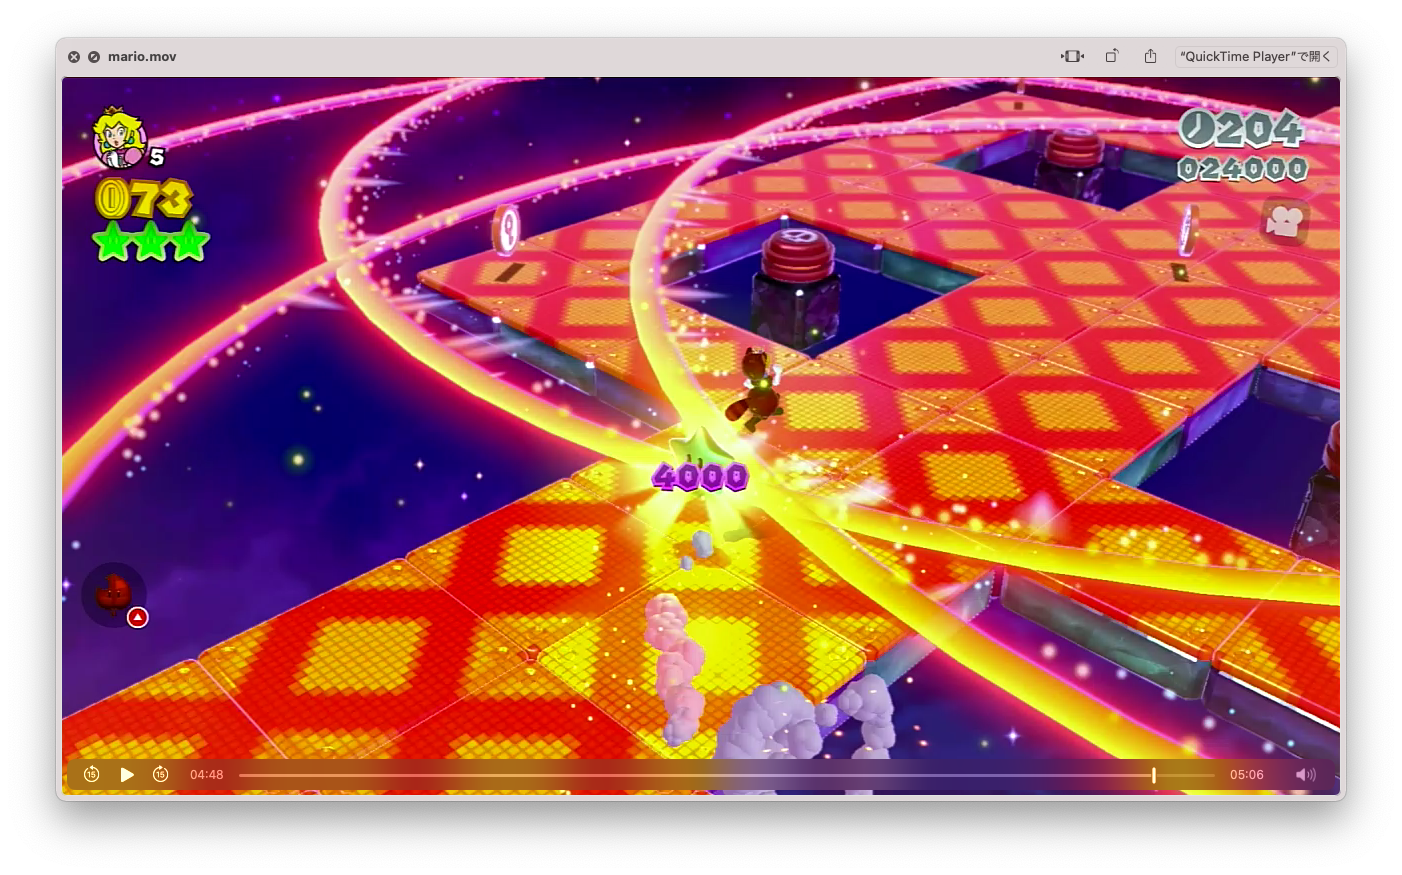
グリーンスターのところは熱線が交差する直前になるので、取ったあとにギリギリのところでジャンプ。すると、しばらく熱線が来ない。この時間を利用して中央のハテナを取る。ちなみに、熱線は中央が一番危険なので、長く待機しない。
|
|||
|
|
|
|||
|
|
|
|||
|
|
|
|||
|
|

|
|||
|
|
|
|||
|
|
あとはタヌキとピーチで空中にとどまりつつ、ハテナを取っていくとクリア。奇跡的にノーダメでクリアしました。
|
|||
|
|
|
|||
|
|
ただ、この熱線地帯、ダメージ後の無敵状態を利用してハテナを取っていく方法も考えてた。もしタヌキが余ってる場合は中央に置いとこうかなとかも考えてた。(試してないので有効かわからないけど
|
|||
|
|
|
|||
|
|
|